

How To Make Interior Storm Windows
Our firm is 100 years erstwhile, has mostly original single-paned windows, and is very, very drafty. At that place are a few windows that I don't want to put curtains or shades over, only they're and then leaky, I needed to insulate them somehow.
I've heard skilful things about Indow Windows, a company based in Portland that specializes in making custom window inserts that are especially adept for old windows that you don't want to supercede or risk damaging. I called them for an estimate on five windows, ranging from 30″ x 34″ to 35″ 10 forty″ in size, and they came back at roughly $200-$240 per window for the standard thermal option (1/eight″ thickness).
While I think Indow Windows are a peachy option, I didn't actually feel similar spending over $1,000 on custom inserts for five windows, especially since ii are hidden abroad in the basement. And so I started Googling for DIY options and stumbled across what can only be described every bit a vast community of "soundproofing enthusiasts." Soundproofing was not my primary goal, since all the windows in question face up towards the backyard, it but happens that soundproofing enthusiasts are EXTREMELY passionate about window insulation solutions, and I plant the most detailed knowledge from their forums and sites.
My meridian priorities:
- Insulate the windows with minimal damage to the window frame.
- Create an insert that would exist removable then nosotros can access the full window in warmer months.
- Keep the budget to well-nigh $100 per window.
After some research, I settled on the Magnetseal magnetic window insulation kit, which seemed similar a good combination of convenience and value for my needs. Priced at $three.50 per linear foot, each window required about $45 of cloth, not including the plastic canvass, which I bought separately from my local plastic supplier (TAP Plastics). I chose to simply frame in the sides and tiptop of my window, due to the way my windows are designed. I also didn't want to drill into the sill. If you choose to go this road, yous'll salve a bit on framing, but you lot'll need to use weatherstripping tape or other filler on the bottom of your insert to seal the window in completely.
Including the price of the plastic and other supplies, each window came out to simply nether $100 to stormproof, or about l-sixty per centum less than ordering custom inserts.
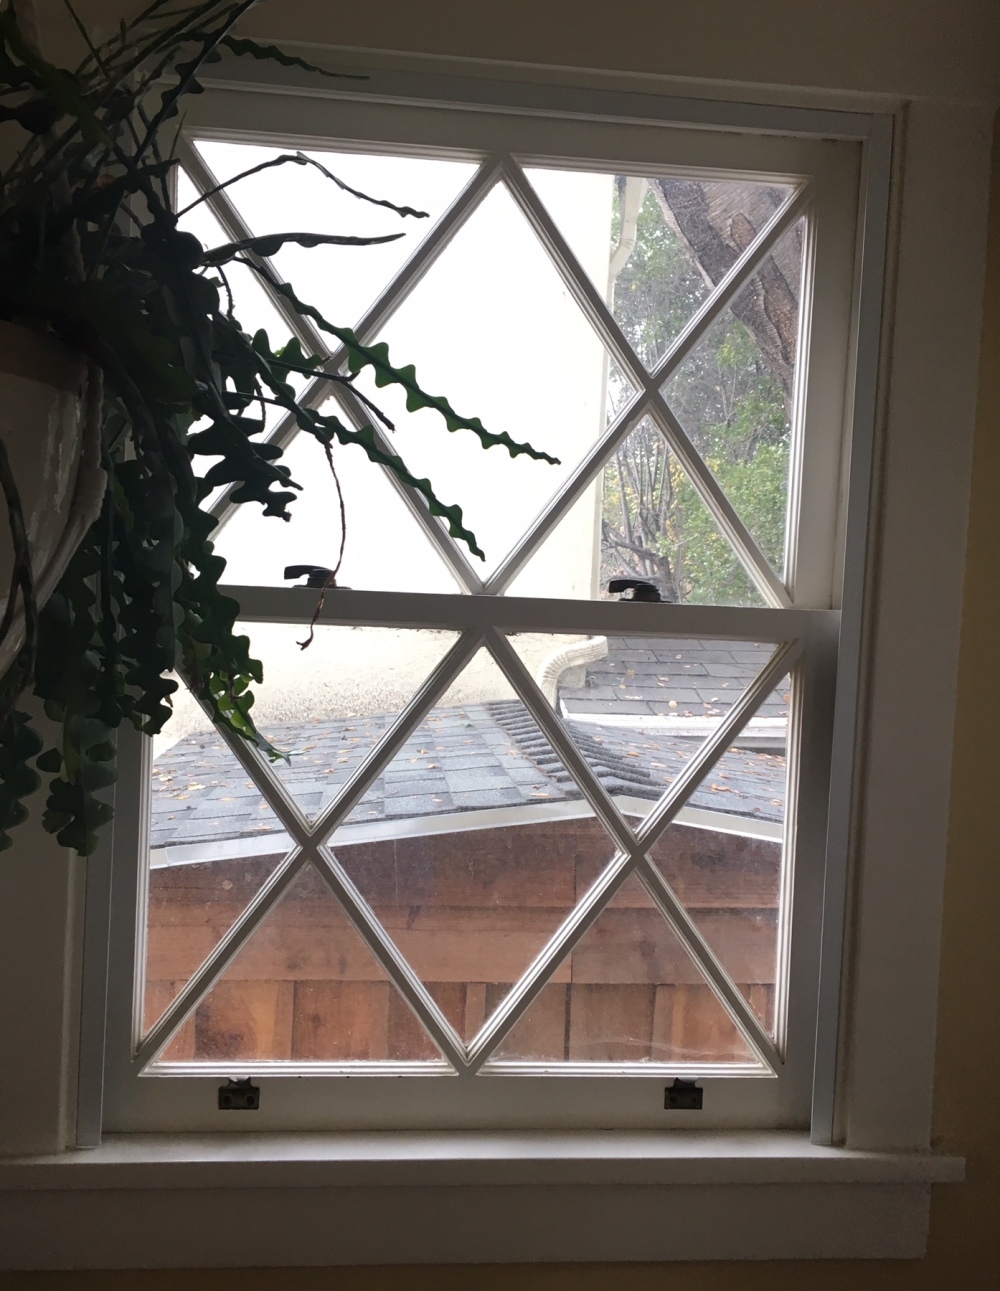
Here is ane of the windows before (left), and a finished window (correct):
Overall, I was happy with the finished production, and the process was non also bad. I have a few finishing touches I need to brand (will get to those subsequently). Of course, I made a bunch of mistakes forth the way that I'll share with you in the instructions so you can avoid them.
MATERIALS
- Magnetseal framing and magnetic tape (I recommend calling Super Soundproofing Co, or whatever seller you society from, since they will need your window dimensions before cut your frame strips)
- Articulate plastic sheet to cover the window opening (strongly recommend waiting until subsequently you lot've installed the Magnetseal kit before ordering so you tin can get the exact dimensions)
- Can snips or hacksaw to cut the steel mounting frame to size
- Drill and $.25
- Measuring tape
- Pencil
OPTIONAL MATERIALS
- Caulk or other filler to seal any remaining gaps between the mounting frame and your window frame
- Weatherstripping tape to seal the lesser of your finished insert, if simply framing in 3 sides, similar I did
- White paint or electric tape to encompass the visible magnet strip on the front end of the finished insert (the sticky side of the magnet tape is white, just there are visible air bubbles against the plastic, which wait kind of tacky)
INSTRUCTIONS
1. Cutting downwardly your mounting strips to size for your window.
If you're doing multiple windows, don't practice what I did and choose the most prominent window to showtime with. Perhaps you're familiar with "Newton's First Pancake Theorem" which dictates that, much like pancakes, the first of anything you lot make is going to be lumpen and weird, so it's far better to first with the window that y'all care the to the lowest degree nearly, and salve the best window for final. You become better and faster with each window. The get-go window took me over an hour; past the last window, I was down to 30 minutes.
Earlier you cut your strips, brand certain yous've considered all your placement options, especially if you lot accept ornate or unusual window frames. With my windows, I could have opted to install the mount inside the inner-most window frame (image on left), or flush against and covering the inner-most window frame, which would embrace a modest inset detail on the inner frame (see image on right). Before I got the kit, I assumed I would do the external mount, since that would requite me more coverage over the window and thus improve insulation. However, when I tested it in person, I was surprised past how much I missed that little decorative inset in the window frame. I as well liked how the screws were not visible with the inner mountain. If you're at all unsure about it, definitely test out your options at home before going to club the plastic sheets.

2. Install the mounting frame
It goes without saying, but make sure to drill pilot holes outset (it's what separates u.s. from the animals). An 1/8″ chip is sufficient. Mounting screws are included with the kit.
You may need to punch in additional holes in the mounting strips considering they are spaced rather far apart, IMHO. I used my tin snips to cut out slots about four″ from the end of the strip whenever needed.
It as well helps to cutting the final piece after the first two are up to ensure yous get an verbal fit. I installed the 2 sides kickoff, and then measured, cut and installed the top mountain.
3. Seal the gaps (optional)
After your mounting frames are upward, you might desire to seal upward any gaps with caulk or other filler. Merely make sure to wipe off any filler that gets on the mounting frame, as it can interfere with the magnetic strip's ability to adhere to it.

4. Measure the opening and order your plastic
Remember to account for plastic'due south expansion, so you'll probably want to have the plastic cut about 1/8″-one/4″ shorter for an within mountain, depending on the size of your window (consult with your plastics supplier to decide the exact corporeality).
I went to my local TAP Plastics and gave them the verbal dimensions for each window. They recommended that I go with a three/xvi″ thickness to forbid whatever flexing. Each sheet was about $50.
5. Apply magnetic tape to the edges of the plastic sheet
This step is pretty simple. If you only do 3 sides, leaving the lesser border open like I did, then you lot'll probably want to add weatherstripping tape to the bottom border. Exercise this Afterward you put upward your window though, in case the weatherstripping adds too much bulk and messes with the magnetic alignment at the top of the window.
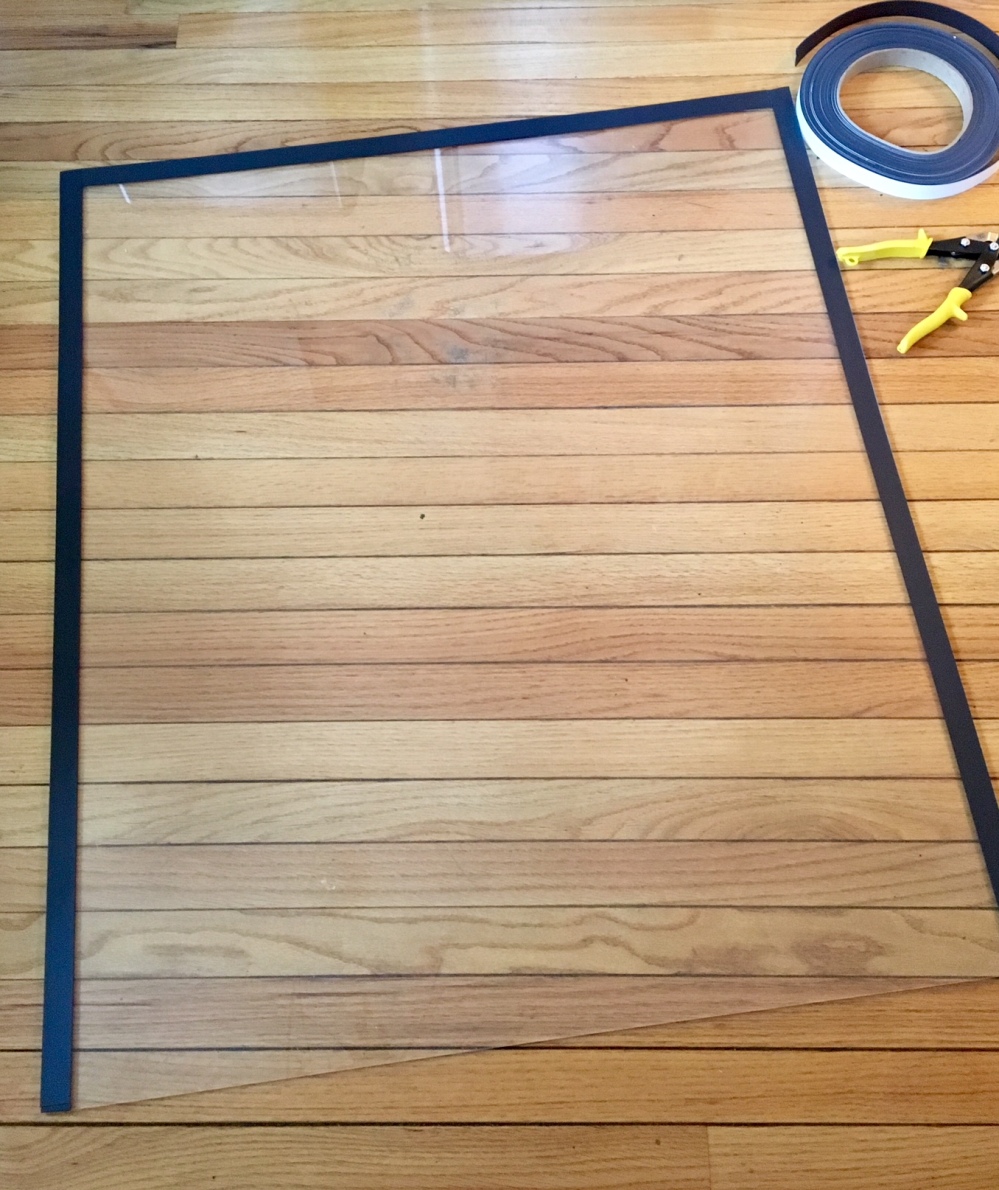
6. Hang your window!
If you await closely, you can see gaps at the corners where the magnetic tape strips don't see flush. I plan to cover the magnetic tape that is visible nether the plastic sail with pigment or white electric record. It doesn't add together to the function of the window insert, but I think it will look nicer and more than polished if you lot tin can't run into the magnetic strip and the air bubbles under the plastic. I besides need to find a very thin weatherstripping tape to seal the bottom border, since the 1 I bought added as well much summit to the finished insert.

Despite a few mistakes forth the way, and some finishing touches left for me to practice, I'd say this was a very worthwhile weekend project.
EDITED TO Add together: It's been less than a week since I put up these windows, and they take made a HUGE divergence in the comfort level of the house. The whole room feels and so much cozier, and there are no longer random drafts bravado through the kitchen. I rate this project 10 out of 10. Would practice once more.
Source: https://jkcoolmom.com/2018/01/09/diy-indow-windows-interior-storm-windows/
Posted by: coxgrart1975.blogspot.com
0 Response to "How To Make Interior Storm Windows"
Post a Comment